一圖勝過千言萬語,刻意挑選的圖片可以描述一篇文章,可以表達作者意圖,可以增加文章的豐富度,可以增加讀者的好奇心,增加點擊率。
如果在圖片上再加上標題,讀者就更能一眼就看清內容要表達的內容。
什麼是精選圖片 (Featured Image)
精選圖片是 WordPress 的主題特色功能,作者可以挑選一個富含描述意義的圖片,在文章的開頭顯示,讓讀者在瞄到圖片的瞬間就可以概略了解文章的內容。
主題開發者可以在主題內加上精選圖片顯示,也可以控制如何顯示圖片的大小、樣式、是否隱藏等等。
作者可以在文章編輯畫面設定精選圖片,目的當然是讓文章更有吸引力。
如何設定精選圖片
step 1
進入 WordPress 後台,文章編輯畫面
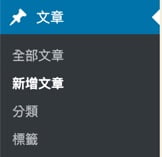
step 2
點擊右方【設定精選圖片】

step 3
選擇或上傳圖片,確定後點擊右下方【設定精選圖片】
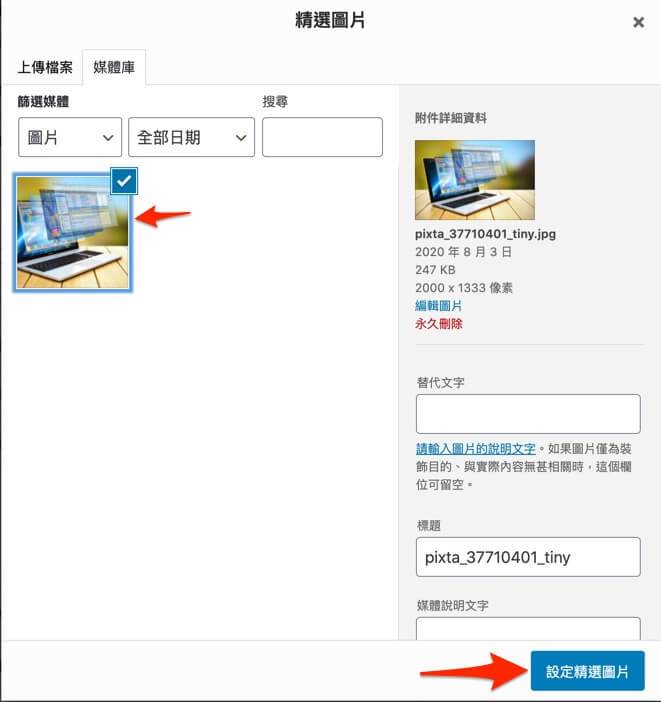
step 4
右方內容即會顯示已設定好的精選圖片

如何自動加上文章標題
下圖是自動加上標題後的效果,沒有用任何其它影像工具處理過。

程式修改原理
以下使用 Astra 佈景主題當範例,需要修改 Astra 佈景程式、新增 CSS 樣式。
基本上原理是相同的,不同佈景主題程式,都可用類似方式修改套用。
step 1
修改主題程式,讓精選圖片的 HTML 輸出 ,加上文章標題在圖片前面。
'<p class="thumb-title">' . 文章標題 . '</p>'step 2
新增自訂 CSS 樣式,讓文字加上半透明背景顯示在圖片上層。
.post-thumb{
  position:relative;
}
.thumb-title {
  position: absolute;
  background: black;
  bottom: 0px;
  font-size: xx-large;
  line-height: 1.5em;
  text-align: center;
  width: 100%;
  opacity: 0.7;
  color: white;
  margin-bottom: 1em;
  text-shadow:#EDEDED 1px 1px 0;
}
之後只要設定好精選圖片,就會自動在圖片加上文章標題。
這種方式沒有辦法跟影像處理工具一樣設計的很漂亮,確是一個很方便又快速的方式。
好處是樣式可以隨時改變,不用另外修改圖片,也可以自由的使用 CSS 設計。
Astra 程式範例
如果你也使用 Astra 當作佈景主題,可以直接修改套用。
建議使用【子佈景主題】修改。
程式檔案位置: functions.php
function astra_get_post_thumbnail( $before = '', $after = '', $echo = true ) {

  $output = '';

  $check_is_singular = is_singular();

  $featured_image = true;

  if ( $check_is_singular ) {
    $is_featured_image = astra_get_option_meta( 'ast-featured-img' );
  } else {
    $is_featured_image = astra_get_option( 'ast-featured-img' );
  }

  if ( 'disabled' === $is_featured_image ) {
    $featured_image = false;
  }

  $featured_image = apply_filters( 'astra_featured_image_enabled', $featured_image );

  $blog_post_thumb   = astra_get_option( 'blog-post-structure' );
  $single_post_thumb = astra_get_option( 'blog-single-post-structure' );

  if ( ( ( ! $check_is_singular && in_array( 'image', $blog_post_thumb ) ) || ( is_single() && in_array( 'single-image', $single_post_thumb ) ) || is_page() ) && has_post_thumbnail() ) {

    if ( $featured_image && ( ! ( $check_is_singular ) || ( ! post_password_required() && ! is_attachment() && has_post_thumbnail() ) ) ) {

      $post_thumb = apply_filters(
        'astra_featured_image_markup',
        get_the_post_thumbnail(
          get_the_ID(),
          apply_filters( 'astra_post_thumbnail_default_size', 'large' ),
          apply_filters( 'astra_post_thumbnail_itemprop', '' )
        )
      );

      if ( '' != $post_thumb ) {
        $output .= '<div class="post-thumb-img-content post-thumb">';
        if ( ! $check_is_singular ) {
          $output .= apply_filters(
            'astra_blog_post_featured_image_link_before',
            '<a ' . astra_attr(
              'article-image-url',
              array(
                'class' => '',
                'href'  => esc_url( get_permalink() ),
              )
            ) . ' >' . '<p class="thumb-title">' . get_the_title(get_the_ID()) . '</p>'
          );
        } else {
          $output .= '<p class="thumb-title">' . get_the_title(get_the_ID()) . '</p>';
        }
        $output .= $post_thumb;
        if ( ! $check_is_singular ) {
          $output .= apply_filters( 'astra_blog_post_featured_image_link_after', '</a>' );
        }
        $output .= '</div>';
      }
    }
  }

  if ( ! $check_is_singular ) {
    $output = apply_filters( 'astra_blog_post_featured_image_after', $output );
  }

  $output = apply_filters( 'astra_get_post_thumbnail', $output, $before, $after );

  if ( $echo ) {
    echo $before . $output . $after; // phpcs:ignore WordPress.Security.EscapeOutput.OutputNotEscaped
  } else {
    return $before . $output . $after;
  }
}
自動顯示標題外掛
讀者瀏覽網頁的習慣就是一掃而過,也比較容易掃過圖片,在圖片放上文字資訊比較容易吸收,留住印象。
但要將文字資訊寫在圖片上,需要找工具,花時間設計調整,如果能有個外掛可以將這些動作自動化,多好。
使用 Astra 佈景主題的好處之一,就是我們可以自行開發 Astra 的延伸功能,加強 Astra 佈景顯示。
如果你也覺得修改圖片很麻煩,試試看下面說明的 Astra 延伸外掛,自動將文章標題顯示在精選圖片上。
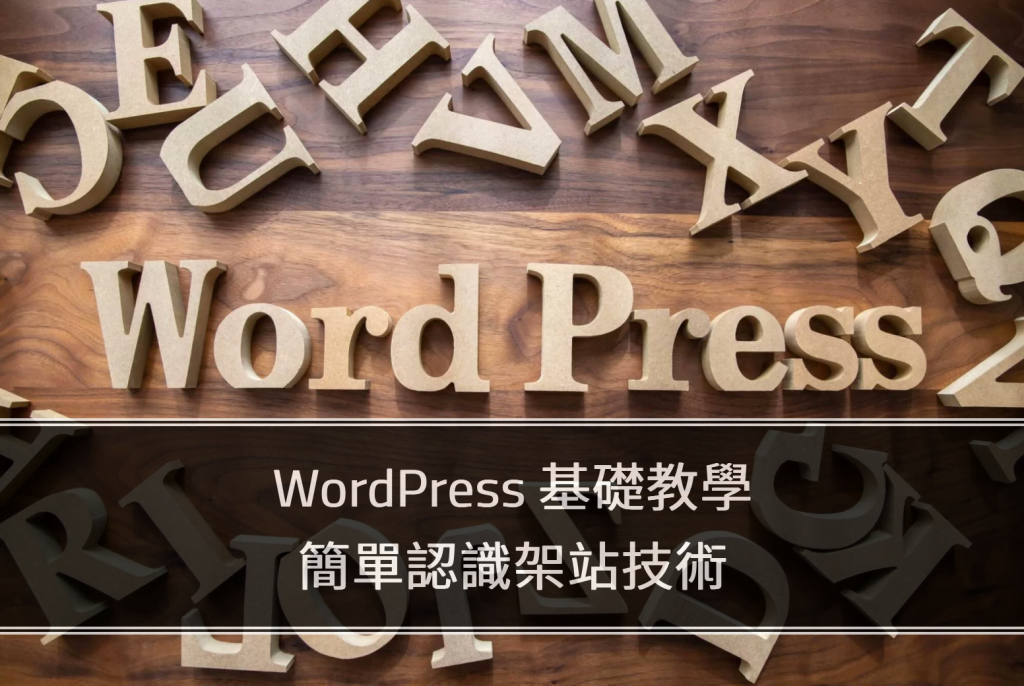



目前這個 Astra 外掛還在緊鑼密鼓開發測試中,如果您有興趣請訂閲光輝咖碼,我會不定期發送新版本給你試用看看。
外掛安裝方式
step 1
免費取得 kama-featured-images.zip,先另存新檔。
step 2
開啟後台外掛安裝頁面,選擇上傳檔案。

step 3
啟用,看一下精選圖片是不是自動加上標題了。

如果覺得有什麼可以改進,或是有其他問題可以聯絡我。
想要移除的話,移除方式和其它外掛一模一樣。

如何快速新增精選圖片
關於精選圖片,還有一個麻煩的事情,我們必須自行設計圖片,或是到網路上尋找免費的圖片,下載到自己的電腦,再上傳到 WordPress 設定精選圖片。
免費精選圖庫:pixabay
如果能直接在 WordPress 尋找圖片,直接下載儲存,直接設定好本篇文章的精選圖片就很方便。
請至外掛安裝畫面搜尋 Starter Templates。安裝並啟用。
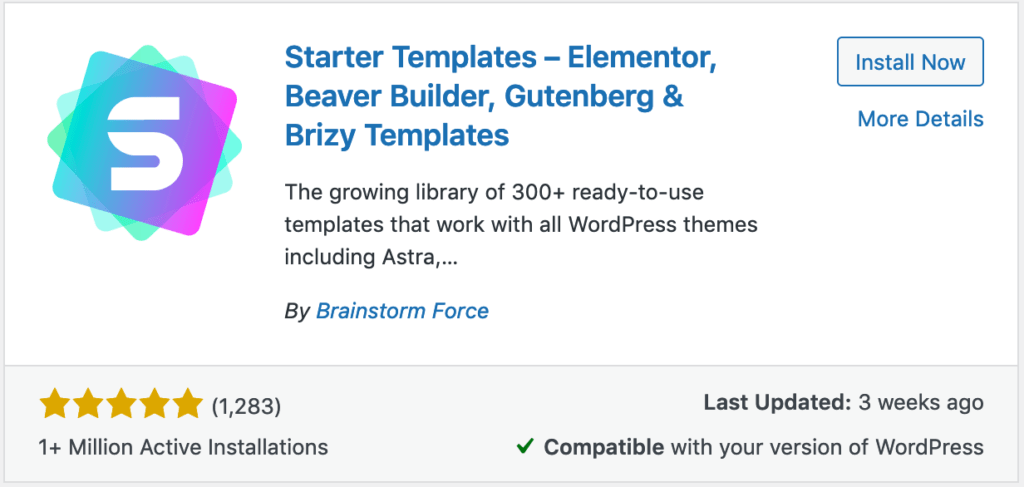
這是和 Astra 佈景主題同一間公司開發的免費外掛。
安裝好之後,可以到文章編輯畫面,一樣如同上面步驟開啟精選圖片設定畫面,就會看到 pixabay 已經整合進來了。
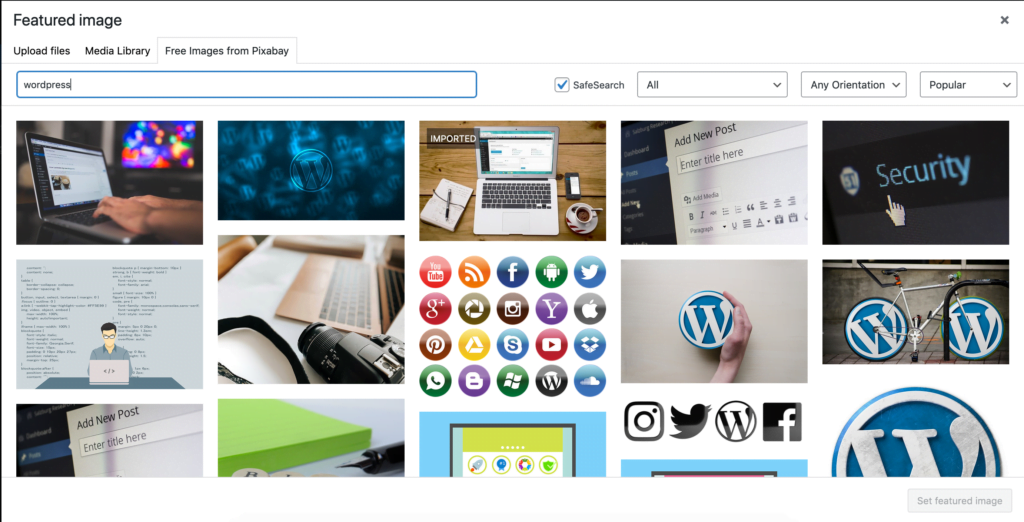
例如輸入 wordpress 搜尋圖片。
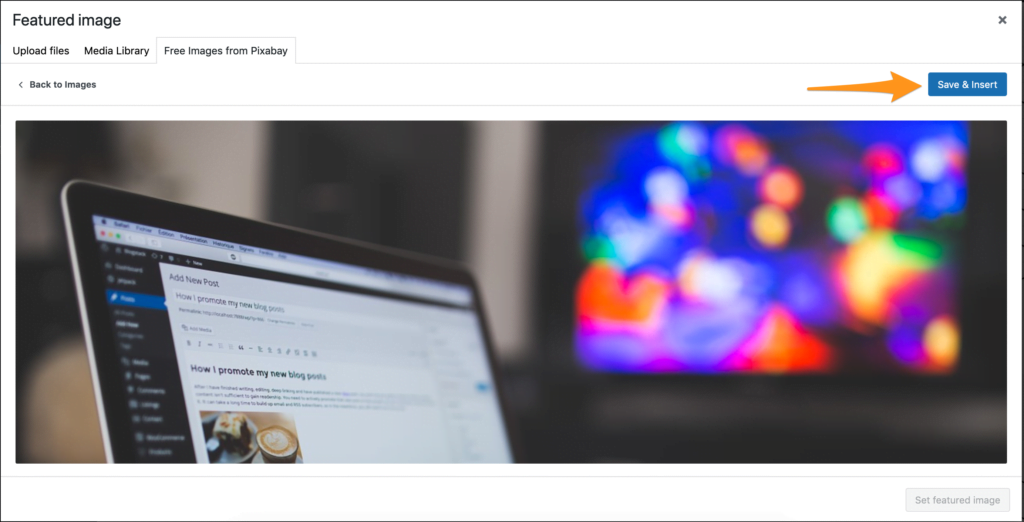
選擇圖片後,點擊【Save & Insert】即可完成精選圖片設定。


